
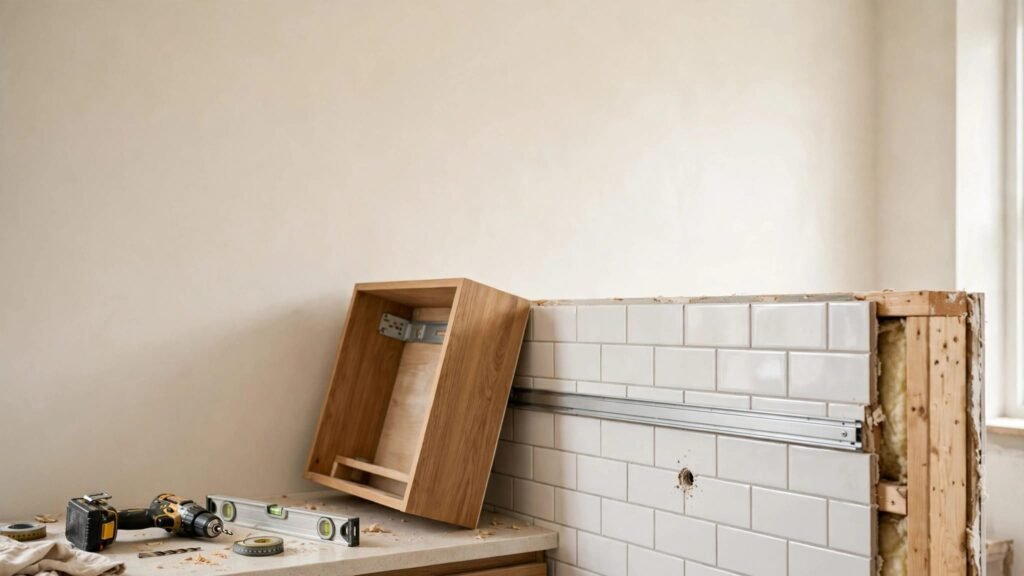
A clean hole in tile doesn’t guarantee a secure bathroom cabinet. When you install bathroom cabinets on tiled walls, the support behind the finish carries the load.
You also need to protect the tile and keep every hole clear of concealed pipes and wiring. Start with the cabinet’s mounting instructions, then check the wall before choosing hardware or drilling.
Plan the Cabinet’s Support Before Drilling
Tile is a finished surface, not a substitute for structural support. The cabinet’s mounting system must connect to a wall assembly that can carry its intended load.
Keep the installation sheet available throughout the project. It controls the mounting locations, required support, and approved attachment method.
Wall-Hung Cabinets and Floating Vanities
A floating vanity’s support must account for the cabinet, countertop, sink, contents, and everyday use. Likewise, a storage cabinet above the toilet needs suitable support for its loaded weight.
Confirm where the mounting rail or reinforced attachment points sit before searching for framing. Finding a stud somewhere behind the cabinet doesn’t establish that every required fixing point has support.
If the existing backing doesn’t match the mounting requirements, settle that problem before drilling. A contractor may need to open the wall and add support.
Floor-Standing and Recessed Cabinets
Floor-standing vanities transfer much of their weight to the floor, but they still need the restraint specified by their manufacturer. Compare floating and freestanding bathroom vanities before committing to a replacement layout.
A recessed medicine cabinet involves a different project: cutting an opening and checking the wall cavity. Surface-mounted models avoid that large opening, although their fastening locations still need inspection.
Choose the installation style after reviewing the wall, plumbing, and available space.
Inspect the Tiled Wall and Hidden Utilities
A new cabinet shouldn’t conceal damage or make an existing leak harder to find. Check the installation area before bringing the cabinet into position.
Repair Moisture Damage First
Look for loose tiles, cracked areas, persistent dampness, staining, and damaged grout or caulk. Any movement or visible water damage deserves investigation before installation.
Where accessible, inspect the wall behind the finish. Soft or swollen drywall, deteriorated backing, and corroded framing require attention.
Repair the moisture source rather than covering the evidence. In Fort Myers bathrooms, humidity and air-conditioning cycles also make ventilation and dry cabinet interiors important.
A sound-looking tile surface doesn’t prove the concealed wall is dry or structurally suitable.
Verify Plumbing, Wiring, and Framing
Map supply lines, drains, electrical boxes, and likely utility routes before marking holes. A pipe emerging beside the vanity can run behind a proposed fastening point.
A detector provides clues, not confirmation of a safe drilling location. Compare readings at the actual mounting heights, and arrange further inspection when the wall construction remains uncertain.
Turn off power to affected circuits before work near electrical installations. However, electrical isolation doesn’t make an unknown drilling route safe.
Don’t penetrate unexpected metal or remove protective plates. If you can’t verify a clear path and suitable support, stop and consult the appropriate professional.
Lay Out the Cabinet Without Blocking Access
Measure from the finished floor and use the manufacturer’s template or installation drawing. Confirm the cabinet’s outline, mounting points, and intended relationship to the sink, mirror, and lighting.
Good cabinet design includes clearance for daily use and repairs. Check that doors and drawers won’t strike shower glass, trim, nearby fixtures, or each other.
For an over-toilet cabinet, leave access to remove the tank lid. Also consider whether the cabinet’s depth makes the seating area uncomfortable.
Before ordering a vanity, compare its interior layout with the existing plumbing. The drain, P-trap, supply lines, and shutoff valves all need space. Reviewing bathroom vanity plumbing clearance can help identify conflicts before installation.
Hold the cabinet or its template at the planned position with assistance. Check the layout with a level rather than following grout lines, which may not be level.
Finally, transfer only the approved mounting locations to the wall. Moving a hole to a convenient grout joint can leave it outside the required support area.
Prepare Tools and Hardware for the Actual Wall
Have a measuring tape, level, the installation template, suitable marking materials, eye protection, and a safe lifting arrangement ready. Remove doors or drawers only as the cabinet maker permits, and protect them while they’re off the cabinet.
Identify the tile material before selecting drilling equipment. Ceramic and porcelain aren’t interchangeable for every drilling product or setting.
Ask the tile or drill-bit manufacturer to confirm suitability for the surface. Then follow its instructions for drill mode, speed, cooling, pressure, and hole size. Don’t assume equipment intended for the underlying masonry is suitable for passing through the tile.
Choose cabinet hardware only after confirming the substrate and mounting requirements. Wood framing, steel studs, and concrete block need different attachment assessments.
Fastener length must account for the finished wall layers and the required engagement without creating a utility hazard. Longer screws aren’t automatically safer.
In Southwest Florida, ask about corrosion-resistant hardware appropriate to the assembly. Confirm compatibility with both the cabinet system and the selected fastening method.
Separate Tile Drilling From Cabinet Fastening
Installing bathroom cabinets on tiled walls involves two distinct tasks: making suitable openings through the finish and attaching the mounting system to adequate support.
A clean tile opening can still conceal an unsafe installation if the fixing behind it has no suitable load-bearing support.
Make the Tile Openings Carefully
Recheck the marks against the cabinet template and verified support locations before making any hole. Follow the approved drilling instructions for the identified tile and equipment.
Excessive force, unsuitable settings, and poorly placed holes can damage tile. Pay particular attention to existing cracks and locations near tile edges; have questionable locations assessed rather than guessing.
If drilling stalls or encounters an unexpected obstruction, stop. Don’t increase force to push through something you haven’t identified.
Keep electrical equipment protected from any water required by the approved drilling process. Follow the equipment’s safety instructions.
Secure the Mounting System Behind the Finish
Once the tile opening is complete, confirm the underlying material before continuing with the specified fastening procedure. The opening through the finish doesn’t establish how the cabinet should attach.
Use the mounting rail, brackets, or reinforced cabinet areas identified by the manufacturer. Thin back panels, shelves, and decorative trim shouldn’t replace designated attachment points.
Don’t substitute a general-purpose anchor for a missing support plan. A floating vanity or loaded wall cabinet needs an attachment system approved for its cabinet and wall conditions.
If drilling penetrates a waterproofed assembly, arrange the penetration detail with a qualified installer. Restoring that protection requires the correct system, not a general cosmetic repair.
Level and Secure the Cabinet Without Distorting It
Prepare a stable support arrangement before lifting a wall cabinet. A temporary ledger, if the installation method permits one, must attach to verified support and be level.
Follow the manufacturer’s installation sequence while checking alignment throughout:
- Position the cabinet or mounting rail at the marked height, with a helper supporting the cabinet as needed.
- Check level, plumb, and clearance before completing the specified attachments. Confirm that the cabinet sits at the planned reference points.
- Address uneven wall contact with shims or other support details permitted by the manufacturer. Don’t pull the cabinet against an obstruction by overtightening.
- Complete the attachment sequence, then recheck the cabinet face and mounting points before installing accessories or adding weight.
For adjoining cabinets, check the full run and join the boxes as instructed. Keep their faces aligned rather than adjusting each unit in isolation.
Watch for changes as screws tighten. If the cabinet twists, a gap closes unevenly, or tile shows distress, stop and correct the underlying problem.
Arrange countertop installation only after the cabinet is securely mounted, level, and ready for the countertop provider’s requirements.
Protect the Finish and Check Daily Operation
Seal approved field-cut edges and other vulnerable areas according to the cabinet manufacturer’s directions. Cutouts near plumbing deserve attention because leaks and condensation can reach exposed material.
Keep valves, drains, and electrical connections accessible. Permanent trim or panels shouldn’t prevent inspection or future service.
After installation, check every door, drawer, shelf, and pull-out. If something rubs, first confirm that the cabinet remains level and square before adjusting hinges.
Have disturbed plumbing connections checked for leaks. Inspect the cabinet interior again after normal use.
When wall conditions, plumbing, or clearances complicate the layout, a bathroom cabinet design consultation can help coordinate the cabinet choice with the installation requirements. Resolving those questions early is easier than modifying a finished cabinet.
Key Takeaways
- Verify the cabinet’s mounting requirements, structural support, and concealed utility routes before drilling.
- Treat tile penetration and cabinet attachment as separate tasks, each requiring instructions suited to the actual materials.
- Correct moisture damage first, then preserve alignment, protect exposed edges, and keep plumbing accessible throughout installation.
Frequently Asked Questions
Can I Drill Through Grout Instead of Tile?
A grout joint isn’t automatically a suitable mounting location. The hole still needs to align with the cabinet’s approved attachment points and adequate support behind the wall.
Check the tile assembly and drilling-product instructions before choosing that location. Moving a mounting point merely to avoid drilling a tile can compromise the planned attachment or place the hole near an unsupported edge.
Can I Install a Floating Vanity Without Opening the Wall?
That depends on the existing support and whether it meets the vanity manufacturer’s requirements. If suitable backing is already present and verified, an installer may be able to use it.
However, an unknown wall cavity needs investigation. Where support is missing or unsuitable, wall work may be necessary before mounting. Any repaired tiled or waterproofed area must retain the protection required by that assembly.
Finish With a Secure, Serviceable Installation
A successful installation leaves both the tile and the cabinet intact. Verified support behind the wall matters as much as the appearance of the drilled openings.
Protect the finish, preserve access to utilities, and check alignment before adding weight.
For a bathroom renovation in Fort Myers, contact TEC Cabinetry Plus to discuss cabinetry planning before ordering your new cabinets.