 Skip to content

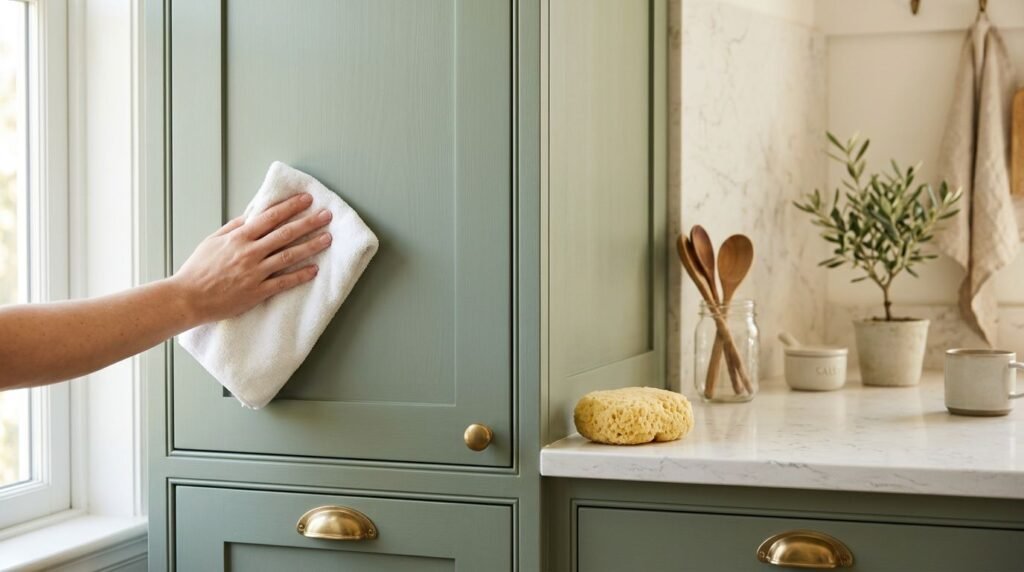
A greasy fingerprint near a cabinet pull can be stubborn enough to make scrubbing tempting. But when you clean kitchen cabinets, more pressure can leave a permanent shiny patch or a dulled spot.
The safest approach is gentle, targeted cleaning: identify the finish, test your cleaner out of sight, use little moisture, and dry each surface. Start by checking what your cabinet maker recommends.
Key Takeaways
- Check the manufacturer’s care instructions before using any cleaner, especially on newly installed or refinished cabinets.
- Test a soft cloth and mild cleaning solution on an inconspicuous area, then check the result after it dries.
- Use a lightly damp cloth for grime and a separate soft cloth to dry the surface promptly.
- Keep abrasive pads, harsh chemicals, and standing water away from doors, edges, and seams.
Know What Finish You’re Cleaning
Two cabinets can look equally smooth yet have different coatings. A painted door may have a factory-applied topcoat, while a stained wood door may have a clear protective finish. Your cleaning method needs to suit the coating, not only the color beneath it.
Look for the product paperwork or ask the cabinet supplier for written care instructions. If the finish is unknown, begin with a dry, soft cloth and ask before trying a cleaner.
Painted and stained doors
Painted cabinets can show wear near pulls and along corners, where hands make repeated contact. Stained wood may hide some small marks, but its clear coat still needs gentle treatment. Neither appearance tells you which cleaning products are approved.
If you’re deciding on new doors, a comparison of painted and stained cabinet finishes can help you weigh everyday upkeep alongside the look.
Laminate, thermofoil, and veneer
These surfaces have different face materials, yet their edges deserve similar attention. Moisture can reach the material beneath a laminate edge or a thermofoil seam. Veneer also depends on a protective finish and sound edge treatment.
Don’t assume a wipeable front makes the whole door water-resistant. Check the manufacturer’s directions for the face, edges, and any textured areas.
How to Clean Kitchen Cabinets Gently
For most finished surfaces, a soft microfiber cloth and a little gentle dish soap in warm water are a sensible starting point. Manufacturer instructions come first, and every cleaner needs a spot test. Let the test area dry before deciding whether the method is safe for the rest of the door.
Remove loose dust first
Wipe the door and drawer front with a clean, dry microfiber cloth. Dust left on a surface can drag under your cloth when you add water, particularly if you rub hard.
Start at the top and move down. Pay attention to upper door edges, where residue can collect unnoticed. Fold or change the cloth when it picks up grit.
Lift grime without soaking the door
Add a small amount of gentle dish soap to warm water, then dip and wring out a soft cloth. It should feel lightly damp, not wet enough to drip. Wipe a small area with light pressure and repeat if needed.
Apply the solution to the cloth rather than spraying the cabinet. That gives you better control around joints, hardware openings, and unfinished edges. If the care instructions call for removing soap residue, follow with another barely damp cloth.
Dry as you go
Use a separate, clean microfiber cloth to dry each area right after wiping it. Don’t leave water around door frames, panel joints, or the bottom edge of a sink-base door.
Step back once the surface dries. If you see streaks, try another gentle wipe with a clean cloth rather than rubbing one spot until its sheen changes. For a closer look at how finishes handle regular care, see these easy-to-clean cabinet finish options.
Tackle Grease Where It Collects
Cooking residue settles most heavily near the range, on the underside of upper cabinets, and around frequently used pulls. Cleaning those areas before the film thickens takes less pressure.
Around the stove
After cooking, let nearby surfaces cool and wipe visible residue with a soft cloth. For a greasy patch, use the mild soap method your cabinet maker permits. Work across the patch gently instead of grinding at its edges.
Change the cloth if it starts spreading grease. Also clean the underside of upper cabinets when you notice a film there, but keep moisture away from seams and light fittings.
Around handles and door profiles
Grime can gather where a pull meets the door. Wipe around its base with a corner of the cloth, then dry the area. Avoid flooding hardware holes to reach dirt behind the handle.
On detailed doors, guide a soft cloth into grooves without pressing hard. A dry, soft brush can lift loose dust from a recess before you wipe it. Skip sharp tools that could catch a painted edge.
Skip Cleaners That Can Change the Sheen
A cabinet finish needs cleaning, not polishing by friction. Scouring pads, abrasive powders, and stiff brushes can scratch a coating or leave a shinier patch where you rubbed. Even a small mark may stand out under kitchen lighting.
Bleach sprays, ammonia-heavy cleaners, and strong solvents are poor defaults for finished cabinets. Their effects depend on the coating, so check the manufacturer’s directions instead of assuming a familiar household cleaner is safe. Don’t use vinegar as a universal substitute, either.
Wax and silicone polishes can leave buildup. They may also complicate a later touch-up. Likewise, an “orange oil” product isn’t automatically right for a stained door. If you want a specialty cabinet cleaner, confirm that the maker approves it for your exact finish and test it out of sight.
A patch that looks shinier after scrubbing may have a changed sheen, not leftover grease. Stop rubbing and check the finish before treating it again.
Protect Edges and Cabinets Near Water
In a Fort Myers kitchen, splashes and humid air can linger around cabinets even when the door fronts look dry. Pay close attention to the sink base, dishwasher opening, and lower door corners.
Wipe splashes and check for leaks
Dry water on a door or panel as soon as you see it. Then look beneath the sink if dampness keeps returning. Cleaning the door won’t solve a slow plumbing leak inside the cabinet.
Inspect seams and exposed edges for swelling, lifting, or peeling. If the surface has opened up, avoid pushing cleaner into the gap and ask the supplier or a repair professional what to do next.
Keep steam off vulnerable areas
Run the range hood while cooking, and avoid letting steam sit against cabinet edges. After opening a dishwasher, check nearby panels for condensation and dry them if needed.
Moisture resistance depends on more than the visible door face. The box, seams, and edge sealing matter too. That distinction is useful when comparing humidity-resistant cabinet materials and finishes for a new kitchen.
Set a Routine That Prevents Heavy Scrubbing
Regular, light care is easier on a finish than waiting for grease to harden. Adjust the timing to how often you cook and what the cabinet manufacturer recommends.
Give busy areas frequent attention
A weekly wipe of door fronts, pulls, and cabinets near the stove is a practical starting point for an active kitchen. Use a dry cloth for dust; bring out the approved mild solution only where grime remains. Always dry areas you dampen.
Wipe spills promptly, especially beside sinks and dishwashers. Painted light colors may show fingerprints sooner, while dark or high-sheen doors can reveal dust and smudges.
Check the less visible surfaces
About once a month, look along door tops and beneath upper cabinets for a film. Seasonally, check accessible drawer openings and face frames for crumbs and residue. Vacuum loose debris before wiping.
These intervals aren’t rules for every household. The useful habit is to spot buildup early, while a soft cloth can still remove it without extra force.
If the Finish Already Looks Dull
Before reaching for another product, look at the affected area in both natural and overhead light. A removable film may appear streaky across several doors. Damage from rubbing often stays in one concentrated patch.
Check for residue carefully
If the maker allows mild soap and water, test a gentle wipe at the edge of the dull area. Remove any permitted soap residue with a barely damp cloth and dry it. Let the surface settle before judging the result.
Don’t repeatedly buff the same spot. Extra rubbing can change the sheen, especially on a low-sheen painted finish.
Get advice for coating damage
Peeling, chips, swelling, and a persistent change in sheen need more than cleaning. Contact the cabinet supplier for an approved touch-up method or a matched repair product. Color alone isn’t enough; a repair should suit the existing sheen too.
If moisture caused the problem, fix the leak or condensation source first. Otherwise, a repaired spot may fail again.
Choose New Cabinets With Cleaning in Mind
For new cabinetry, ask about maintenance before approving a door sample. A finish that looks beautiful in a showroom should also suit your cooking habits, light, and the moisture around your sink.
Ask about the complete finish system
Find out what protects the painted or stained surface and whether the exposed edges receive full coverage. Professional finish options include catalyzed topcoats and factory-applied coatings; their care requirements can still differ. Request written cleaning guidance for the exact line you select.
Look closely at sample corners, door tops, and the area around a handle. Also ask how the manufacturer handles chips or finish repairs. Clear answers now make future care simpler.
Let the door shape suit daily use
Cabinet design affects how much wiping you’ll do. Slab fronts have fewer recesses where cooking residue can settle. Deep decorative profiles need more attention, especially close to the range.
Compare easy-to-clean kitchen cabinet door profiles alongside color and finish samples. Choose details you enjoy enough to maintain, rather than counting on stronger cleaners to reach them later.
Frequently Asked Questions
Can I use dish soap to clean finished cabinets?
A small amount of gentle dish soap in warm water works for many finished surfaces, but it isn’t approved for every coating. Check your cabinet maker’s instructions, test an inconspicuous spot, wring out the cloth, and dry the surface promptly.
Should I spray cleaner directly on cabinet doors?
Apply an approved cleaner to a soft cloth instead. Direct spraying makes it easier for liquid to collect at seams, edges, and hardware holes. Use only enough moisture to lift the dirt.
Why do my cabinets look cloudy after cleaning?
Residue or moisture may be responsible, but rubbing can also alter the sheen. Follow the manufacturer’s directions for removing cleaner residue, then let the area dry. If the cloudy patch remains, ask the supplier before trying another product.
Keep the Finish Looking Like It Should
That stubborn fingerprint doesn’t need a hard scrub. Start with the cabinet maker’s instructions, test your method, and clean with a soft cloth and minimal moisture.
Dry each area as you go and pay attention to edges near water and steam. Those small habits protect the finish you chose without changing the way it looks.
