
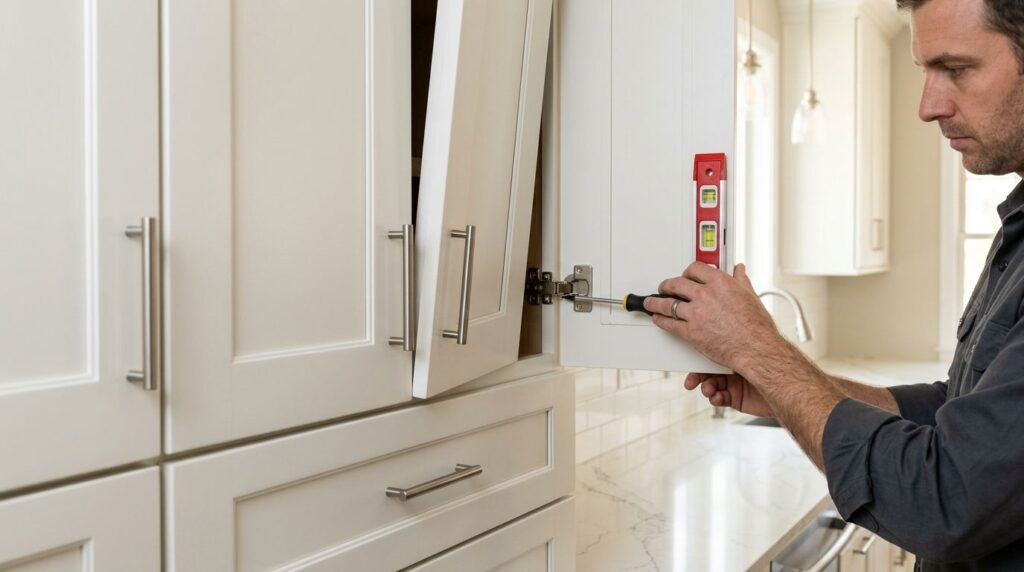
A remodel can look complete while one crooked door reveals a problem. Before you unpack dishes or sign the final paperwork, give every cabinet door alignment detail a close inspection.
Use this homeowner checklist in order. Start with the cabinet boxes, then review gaps and reveals, adjust hinges only when needed, and test doors, drawers, appliances, and hardware together. This sequence helps separate a simple adjustment from an installation issue.
Inspect the Cabinet Boxes Before Adjusting Hinges
Hinges can correct small door shifts, but they can’t fix a cabinet box that is leaning, loose, or out of square. Begin with the structure behind the fronts.
Confirm secure mounting and level
Place a level across the top of a base cabinet or along an accessible shelf. Check the cabinet’s vertical side as well. Base cabinets should sit firmly on the floor, while wall cabinets should be anchored securely to studs or approved blocking.
Open a door and apply gentle pressure to the cabinet side. The box shouldn’t rock, pull away from the wall, or move against the neighboring cabinet. Look for loose mounting screws, visible gaps behind the cabinet, or joints that have separated.
If a cabinet shifts, stop adjusting the hinges. Ask the installer to correct the mounting or leveling first. A loose cabinet can make a door appear misaligned again after every adjustment.
Check the cabinet faces
Stand several feet back and look along the full run. Door and drawer fronts should sit in a consistent plane, without one front projecting noticeably farther than the next. Compare the top edges of nearby doors, especially across long walls and tall pantry cabinets.
Check the transition at corners, islands, and end panels. A cabinet can look straight by itself but appear wrong beside an adjacent run. The approved layout and installation paperwork should help you identify any planned changes in depth or height.
Use a Cabinet Door Alignment Checklist for Gaps and Reveals
Once the boxes are stable, close every door gently and study the spacing. Check the cabinets in normal room lighting, then repeat the inspection in daylight if possible.
Look for even gaps
The gap around each door should stay reasonably consistent from top to bottom. Paired doors should meet evenly in the center, and the space between neighboring doors should look similar throughout the run.
A gap that widens toward one corner often points to a door that needs adjustment. However, a gap that changes across an entire cabinet row may indicate an issue with the box, wall, or installation.
Use nearby doors as your visual reference instead of expecting every cabinet style to have identical spacing. Overlay style affects the visible frame and the space between fronts. Review these cabinet overlay options if you’re comparing full overlay, partial overlay, or inset doors.
Check level doors and consistent reveals
The top rails of adjacent doors should form a clean horizontal line. One door sitting higher or lower than its neighbor is easy to spot near a hood, window, backsplash, or open shelf.
A reveal is the visible space around a door or drawer front. In an inset cabinet, the reveal should remain even around the entire front. With partial overlay cabinets, the exposed frame should have a balanced appearance. Full overlay doors cover most of the frame, so pay closer attention to the gaps between fronts and the alignment of their edges.
Check drawer fronts as well. A drawer below a door should line up cleanly, and a stack of drawers should follow one straight vertical line. Small style differences are normal, but obvious changes in spacing deserve correction.
Adjust Concealed Hinges in Small Steps
Many modern kitchen and bathroom cabinets use concealed hinges with separate adjustments for side-to-side position, depth, and height. Hinge designs vary, so check the manufacturer’s instructions before turning a screw.
Know what each adjustment changes
The side-to-side adjustment moves the door left or right. Use it when the center gap is too wide, too narrow, or uneven between paired doors.
The depth adjustment moves the door toward or away from the cabinet box. Use it when a door sits proud of the neighboring front or rubs against the cabinet frame.
Height adjustment moves the door up or down. On many hinges, you make this change by loosening the screws that hold the hinge mounting plate to the cabinet side, sliding the door carefully, and tightening the screws again.
Don’t assume every screw is an adjustment screw. Some only attach the hinge. If a screw feels stripped, unusually tight, or loose without changing the door position, stop and call the installer.
Make one change at a time
Support the door while you work, especially on a tall or heavy door. Turn one adjustment screw a small amount, close the door, and compare the gap again. A quarter turn is a useful starting point for many concealed hinges, but the correct amount depends on the hinge.
Adjust the top and bottom hinges gradually rather than forcing one hinge to carry the entire correction. After each change, open and close the door several times. Check that the door doesn’t rub, bind, or spring open.
Test the soft-close action, too. The door should close smoothly without slamming or stopping several inches short. If adjusting one hinge fixes one corner but creates a new problem at the other, the cabinet may need professional correction.
Test Drawers, Hardware, and Appliance Clearances
Doors rarely work alone in a remodeled kitchen or bathroom. Open nearby drawers, pull-outs, appliances, and doors at the same time to find collisions that a closed-cabinet inspection won’t show.
Check drawer interference
Open every drawer fully, including narrow drawers beside ovens, sinks, and corner cabinets. A drawer should clear the door above it and any adjacent handle. It shouldn’t scrape the face frame, hit a pull-out, or stop because a neighboring door is open.
Test drawers beside the dishwasher, refrigerator, range, and island seating. Appliance doors can change the available clearance, especially in compact layouts. In a bathroom, check vanity drawers against plumbing, the toilet, side walls, and towel hardware.
Check hardware clearance
Open each door to its normal stopping point. Knobs and pulls shouldn’t strike another cabinet front, a wall, window trim, backsplash, or an appliance. Handles on paired doors should give you enough room to grip one without hitting the other.
Pay close attention to corners. A corner door may need to close before the adjacent door can open, but the intended operation should be clear and practical. Ask for a correction if a handle chips a wall or a door only works when another cabinet remains closed.
Complete the Final Walk-Through Before Sign-Off
Use the same inspection order throughout the room so no cabinet gets skipped. A simple final pass should include:
- Check that cabinet boxes are level, plumb, firmly mounted, and joined securely.
- Compare door gaps, reveals, top edges, drawer fronts, and corner transitions.
- Adjust minor hinge issues, then retest the door’s swing and soft-close function.
- Open drawers, doors, pull-outs, and appliances together.
- Inspect hardware clearance and look closely for scratches, chips, loose screws, or finish damage.
Photograph any issue with the surrounding cabinets visible. Group each concern as a mounting problem, alignment problem, collision, hardware issue, or finish defect. That description gives the installer a clear starting point.
If you’re still planning a remodel, a cabinet design consultation can address door swings, drawer spacing, appliance clearances, and storage needs before the order is placed. Good cabinet design reduces surprises during installation.
Conclusion
A successful cabinet door alignment inspection starts with stable, level boxes. Once the structure is correct, even gaps, straight reveals, smooth hinges, clear hardware, and unobstructed drawers are easier to achieve.
Take your time before signing off on the remodel. A cabinet run that looks straight at a glance should also open, close, and work properly in everyday use.