
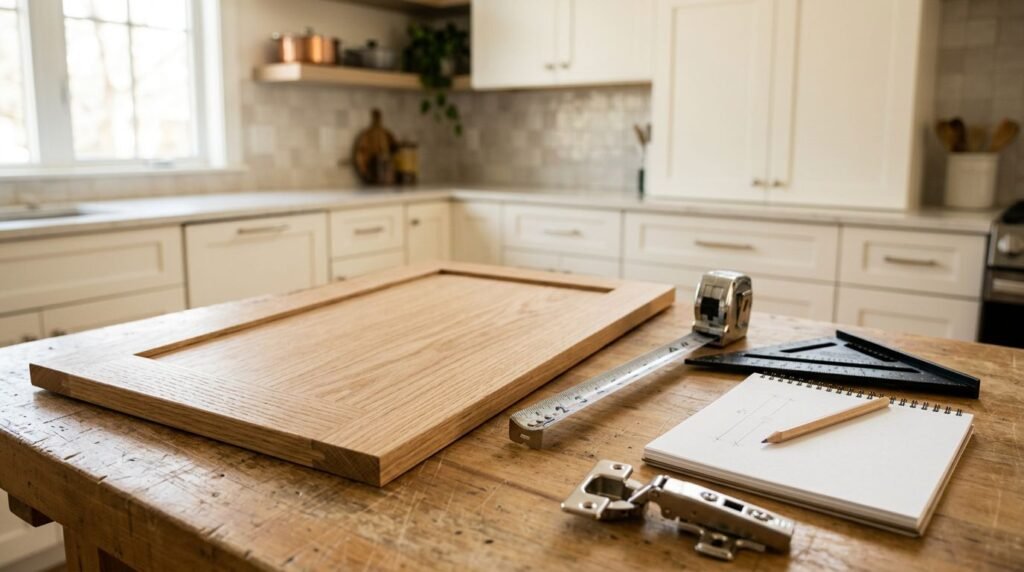
Ordering replacement cabinet doors seems straightforward until new pieces arrive too wide, too short, or drilled for the wrong hinges. If you’re updating an existing kitchen, measure every door carefully before you order.
The right method depends on whether you’re copying an existing door or calculating a new size from the cabinet opening. Overlay, inset construction, hinge placement, thickness, and center gaps all affect the final dimensions. Start with the cabinet style, then work through each opening and record the results.
Measure replacement cabinet doors from the existing door
Before you measure, decide what the new doors need to match. A like-for-like replacement uses the old door as the primary reference. Changing the overlay or cabinet style requires opening measurements and a new sizing calculation.
Separate the door measurement from the opening measurement
Existing door measurements tell you what to reproduce. Opening measurements tell you what can fit. Those measurements aren’t interchangeable.
If the current doors fit well and you plan to keep the same overlay, measure the old door edge to edge. This often gives you the best starting point. However, compare the result with the cabinet opening before ordering. An old door may have been trimmed, replaced incorrectly, or affected by years of movement.
If you’re changing from partial overlay to full overlay, or from overlay to inset, measure the cabinet opening instead. The new door size will depend on the amount of frame coverage or reveal you select.
Measure width, height, thickness, and profile
Remove one door and place it on a flat surface. Measure the outside edge to the opposite outside edge. Record width first, then height. Don’t include hinges, knobs, pulls, or any hardware attached to the door.
Take width readings at the top, middle, and bottom. Measure height along the left, center, and right. If the readings differ, record the variation instead of rounding it away.
Measure thickness at a flat section, away from a bevel or routed edge. Also record whether the door has a square edge, eased edge, bevel, raised panel, or center panel. Matching the outside dimensions alone won’t create a consistent finished kitchen if the profiles differ.
Create a measurement record for every piece
A kitchen rarely has doors that are all identical. Corner cabinets, sink bases, narrow cabinets, and older repairs can create small differences. Treat every door and drawer front as its own part, even when two pieces appear to match.
Label each door by cabinet location
Give each piece a simple label, such as “left wall cabinet 1” or “sink base right.” Mark paired doors as left and right. Keep the label with the written measurement and record which edge is the hinge side.
For each door, write down:
- Width and height
- Thickness and edge profile
- Overlay or inset position
- Hinge count and hinge locations
- Hinge cup diameter and setback, when applicable
- Drawer-front mounting details, when applicable
Use inches or millimeters consistently. Write fractions clearly, and record the smallest and largest reading when a dimension varies. A paper worksheet often makes it easier to spot missing details across a full kitchen.
Take multiple readings
Use a steel tape for width and height. A caliper gives a more accurate thickness measurement when one is available. Keep the tape straight, and measure to the nearest 1/16 inch if your supplier works in inches.
Avoid measuring across a rounded edge or decorative profile. Check the cabinet opening separately if you plan to change the door style, overlay, or hinge system. Measurements taken in several places show whether the opening, box, or face frame is out of square.
For room-level measurements that affect a larger renovation, use this kitchen cabinet measurement guide as a separate reference. Door measurements still need their own worksheet.
Understand overlay before calculating a new size
Overlay describes how much a door covers the cabinet opening or face frame. Full overlay covers most of the frame, partial overlay leaves more frame visible, and inset doors sit inside the opening with a small reveal.
Measure the existing overlay
Don’t assume the old overlay is a standard size. Measure the visible frame around the door, or measure the door and opening together to calculate how far the door extends beyond the opening.
For a single overlay door, compare the door width with the opening width. Divide the difference between the two measurements across the left and right sides. Repeat the process for height.
For example, a 17-inch-wide door covering a 15-inch opening has 2 inches of total horizontal coverage. If the coverage is even, the door overlays the opening by 1 inch on each side. The actual measurement may be uneven if the cabinet has a face frame, an adjacent filler, or a neighboring door.
Review these cabinet overlay options before selecting a new style. The terms full overlay, partial overlay, and inset describe different fitting methods, not one universal measurement.
Calculate replacement cabinet doors from the opening
Use opening measurements when you’re changing the overlay or when the existing door isn’t a reliable template. Measure the opening at the top, middle, and bottom. Check both vertical sides as well.
Use the overlay formula
For one overlay door, the basic calculation is:
Door width = opening width + left overlay + right overlay
Door height = opening height + top overlay + bottom overlay
Suppose a single opening measures 15 inches wide and 25 inches high. If the chosen overlay is 1 inch on every side, the starting door size is 17 by 27 inches.
That example uses a selected overlay, not a universal standard. The required amount may vary at cabinet ends, beside appliances, or between paired doors. Face-frame and frameless cabinets may also follow different sizing conventions. Confirm how your supplier defines overlay before using the formula.
Account for paired doors
Two doors covering one opening need a planned center gap. For equal doors, use this starting formula:
Each door width = (opening width + left overlay + right overlay – center gap) / 2
For a 30-inch opening with 1-inch outer overlays and a 1/8-inch center gap, the calculation is:
(30 + 1 + 1 – 1/8) / 2 = 15 15/16 inches per door
The final size can change if the outer overlays differ or if the manufacturer uses a specific reveal. Measure and record the center gap so the door widths and handle positions stay aligned.
Size inset doors with tighter clearances
Inset doors fit inside the cabinet opening rather than covering the frame. They require more precise measurements because the gap around the door is visible on every side.
Apply the reveal formula
The basic calculation for one inset door is:
Door width = opening width – left reveal – right reveal
Door height = opening height – top reveal – bottom reveal
If the opening is 15 inches wide and the required reveal is 1/8 inch on both sides, the starting door width is 14 3/4 inches.
Measure the opening at multiple points before choosing the final size. If the top, middle, and bottom readings differ, don’t automatically average them. A tight inset door needs clearance at the smallest part of the opening.
The required reveal depends on the supplier’s specifications, door material, hinge system, and local conditions. Wood can move with changes in humidity, so ask for the recommended clearance before placing an inset order.
Match hinge cups and hinge placement
A door can have the correct outside dimensions and still fail to install if its hinge holes don’t line up. Concealed hinges use a cup bored into the back of the door, while older kitchens may use surface-mounted or semi-concealed hinges.
Measure the hinge cup
Count the hinge cups on each door and measure the cup diameter. A 35 mm cup is common, but don’t order based on that assumption. Measure the cup diameter, depth, and distance from the nearest door edge.
Record the distance from the center of the cup to the top or bottom edge. Note the top hinge and bottom hinge positions separately. If the door has three or more hinges, record every position.
Also note whether the cups sit on the left or right side of the door. This matters when doors are handed or when the wood grain runs in one direction.
Check the cabinet-side hardware
Inspect the hinge mounting plate on the cabinet frame or side panel. Record the hinge brand or model if it appears on the hardware, along with the plate location and screw pattern.
A replacement door may use the existing hinges, but a different overlay can require new hinges or mounting plates. Hinge placement also affects door swing, neighboring doors, and drawer clearance.
If the new doors are taller or heavier, ask whether additional hinges are needed. Don’t drill new cups until the final door size and hinge layout are confirmed.
Measure drawer fronts separately
Drawer fronts often look similar to cabinet doors, but their mounting details and clearances differ. Measure each drawer front as its own part.
Record the drawer-front mounting method
Remove the drawer front if possible, then measure its finished width, height, and thickness. Check whether it attaches to the drawer box with screws, clips to a mounting bracket, or forms part of an integrated drawer.
Record the distance between mounting screws and the position of any clips. A new drawer front can match the visible size but fail to attach if the mounting system changes.
Check the space between stacked drawer fronts as well. The new fronts need enough clearance for the drawer slides and adjustment hardware. If a false front sits below a sink, measure it like a door but record that it has no drawer box behind it.
Verify every measurement before ordering
Before you submit dimensions for replacement cabinet doors, compare the measurement sheet with the physical kitchen. Confirm that each label matches its cabinet location and that every dimension uses the same units and fraction format.
Review these details one final time:
- Confirm each door’s width, height, and thickness.
- Verify overlay or inset construction for every cabinet run.
- Check hinge cup size, setback, handing, and mounting position.
- Confirm center gaps for paired doors and clearances between drawer fronts.
- Ask for the supplier’s sizing formula before approving custom dimensions.
When several measurements conflict, stop and resolve the difference instead of choosing the most convenient number. A cabinet design consultation can help verify openings, overlay, hardware, and layout before production. This is especially useful for inset doors, non-square cabinets, and kitchens with mixed door styles.
Conclusion
Accurate replacement cabinet doors start with the right reference point. Copy a well-fitting existing door only when the style and overlay will stay the same. Otherwise, measure the opening, apply the selected overlay or reveal, and confirm the hinge details.
Measure each piece more than once, label it clearly, and check the supplier’s formula before ordering. Those extra minutes protect the fit, alignment, and finished cabinet design of the entire kitchen.