
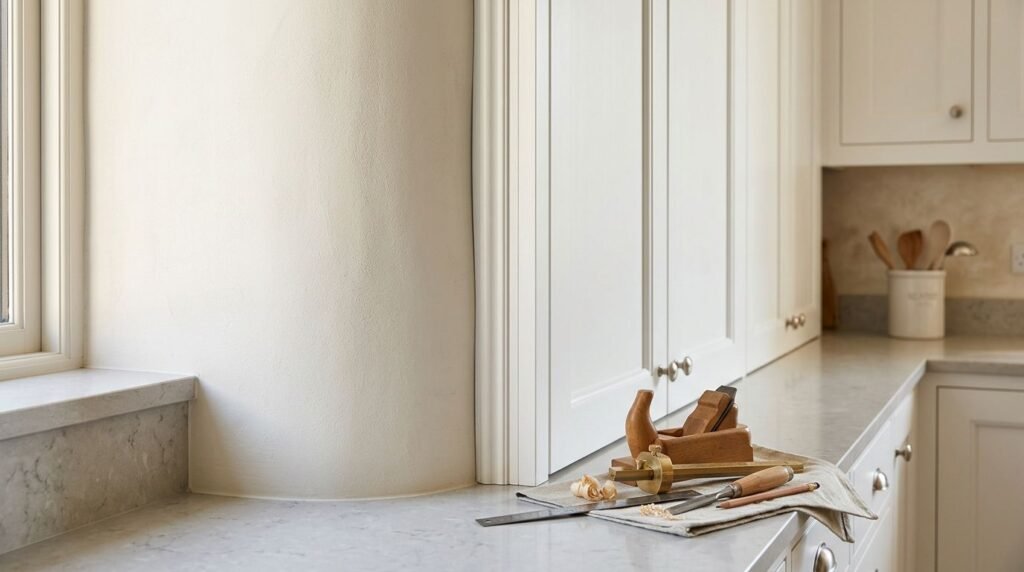
New cabinets can be level and still look uneven when the wall behind them bows. Cabinet scribe molding closes the narrow gap between a cabinet and the wall, so the finished run looks intentional instead of patched.
That trim only works when the cabinet line is already level and plumb. With the right reveal, a careful transfer of the wall shape, and a patient test-fit, many DIY homeowners can get a clean result without forcing the molding into place.
Start with the wall condition, not the trim.
Why cabinet scribe molding works on uneven walls
Scribe molding is a narrow finishing strip attached to the cabinet side. Its wall-side edge is cut to match bumps, dips, or a slight bow, while its cabinet-side edge stays straight. The result hides the gap without making the cabinet box crooked.
Use this trim for a narrow gap that changes along the wall. A wider opening needs a cabinet filler or a finished end panel, not an oversized piece of scribe. Review these cabinet fillers for uneven walls before ordering if the gap is more than the molding can cover.
Plan the detail with the cabinet layout
Good cabinet design accounts for wall variation before the order is placed. Confirm that the molding won’t interfere with doors, drawers, appliances, or countertop clearances. If the wall is unfinished, measure again after drywall, tile, or another wall treatment is complete.
For a new kitchen, share wall measurements with the cabinet designer before finalizing the order. The right filler width, finished panel, or scribe detail is easier to plan before the cabinets arrive.
Gather tools and set up safely
Gather a tape measure, 4- or 6-foot level, straightedge, pencil, square, compass, clamps, painter’s tape, fine-tooth jigsaw, block plane or rasp, sanding block, and drill with a small bit. A utility knife can help score painted trim before sanding small adjustments.
Protect yourself and the cabinet finish
Wear safety glasses when cutting, and use hearing protection with power tools. Clamp the molding to a stable surface, keep both hands clear of the blade, and support the finished face as the tool manufacturer recommends.
If you sand MDF or painted material, wear a dust mask and provide ventilation. Protect cabinet faces with cardboard or a folded towel. Before drilling, check for plumbing and electrical lines behind the wall.
Measure the wall before cutting
Don’t scribe until the cabinet run is in its final position. Level and plumb every box, secure it, and set shims first. Cabinet scribe molding follows the finished cabinet line, so a crooked box creates a crooked trim line.
Find high and low spots
Hold a level or straightedge against the wall at the top, middle, and bottom of the cabinet side. Mark high spots with a pencil and look for daylight under the tool. Measure the widest gap between the cabinet and wall.
If the wall changes sharply, mark each section or make a cardboard template first. Older drywall, plaster, and patched areas often create several different contact points along one cabinet side.
Leave a consistent reveal
Set the molding to cover the gap while keeping doors, drawers, hinges, and handles clear. A 1/8-inch reveal between the cabinet face and molding is a useful starting point. Keep it consistent along the run, and account for finished wall surfaces such as tile or a backsplash.
The reveal gives the trim a clean visual line. It also keeps the molding from sitting so close to the cabinet edge that it interferes with door movement.
How to scribe cabinet molding accurately
Each piece needs its own wall reading because a long run may bow in different places. Label the top, bottom, finished face, and cabinet side before making any cut.
Transfer the wall shape
Place the strip against the cabinet with the finished side outward. Align its straight edge with the reveal, then hold it with painter’s tape or clamps. Keep the molding in its installed orientation because flipping it can reverse the profile.
- Set the compass opening to the widest measured gap. Hold the point against the wall and the pencil against the back edge of the molding.
- Slide the compass along the wall while keeping it level. Trace the irregular line onto the molding.
- Mark the waste side of the line and label the cut clearly before moving the strip.
A compass works best when the wall and molding stay parallel during the transfer. If the wall has a tight corner, make several short passes instead of twisting the tool.
Cut, sand, and test-fit
Cut just to the waste side of the line with a fine-tooth blade. Remove the remaining material with a block plane, rasp, or sanding block. Make small passes because removing too much material creates a permanent gap.
Return the strip to position for a full test-fit. Tape it in place, inspect the reveal, and check contact along the wall. The scribed edge should touch or nearly touch the wall without forcing the molding into a bow.
Trim high spots, not low spots. Taking material from a low area makes the gap larger. For a long cabinet run, scribe each piece separately rather than copying one cut across the entire wall.
A scribed edge follows the wall, but it doesn’t correct an unlevel cabinet. Set the cabinet line first, then shape the trim.
Install the molding and solve fit problems
Once the test-fit looks right, remove the strip and mark its position lightly. This makes it easier to reinstall the piece without losing the reveal.
Fasten the strip
Pre-drill near the ends if the molding is wood and narrow. Use small 18-gauge brads or the fastening method recommended for the cabinet material. Drive fasteners into the cabinet side or a solid nailing surface, not randomly into drywall.
Keep nails away from hinges, adjustable shelves, and the cabinet face. Fill holes with matching putty, then sand lightly. On painted molding, apply a thin bead of paintable caulk where the trim meets the wall. Stain-grade molding needs a tighter cut because caulk won’t accept stain like wood.
Troubleshoot before final fastening
If a gap remains at one end, recheck the reveal and compass opening. If the molding rocks, remove the high spot on its back. When a door rubs, shorten the molding or adjust the nearby filler instead of moving a properly aligned cabinet.
A gap wider than the strip calls for a filler or finished panel. Never stretch a short piece into place, and replace any molding that ends short of the cabinet run. A visible joint is easier to hide when it falls at a natural cabinet break.
Know when to hire a professional
Hire an installer when the wall has water damage, loose plaster, major bowing, or an unknown utility line. Professional help also makes sense for tall cabinets, long continuous runs, custom stain-grade work, or molding that must meet a difficult corner.
If the cabinet boxes cannot sit level without extensive shimming, stop and correct the wall or floor first. Trim can hide a small irregular gap, but it shouldn’t conceal a structural or moisture problem.
Conclusion
A level cabinet and a well-scribed edge work together to make an uneven wall look clean. Measure the finished wall, establish a consistent reveal, transfer the contour carefully, and remove material in small increments.
The best cabinet scribe molding fit is decided before the nails go in. A careful test-fit protects the doors, finish, and final cabinet line.