
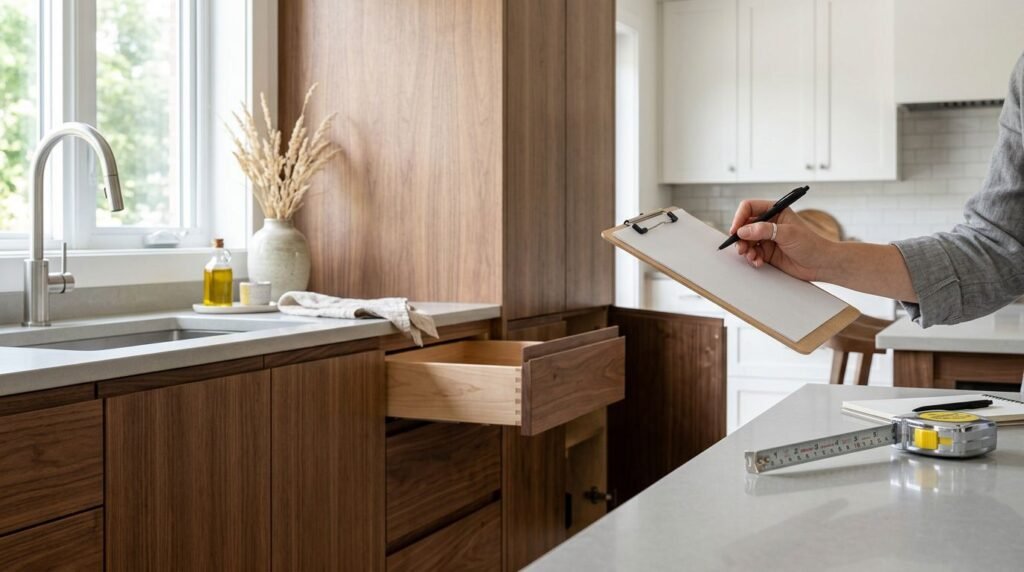
The last payment can feel like the finish line, but a rushed sign-off can turn a small miss into a costly callback. A cabinet walkthrough checklist helps you catch problems while the installer is still on site, when fixes are easier to make.
Cabinets should line up, close cleanly, and match the approved cabinet design. Before you release the final payment, slow down and inspect the work like you’re buying it all over again.
Key Takeaways
- Compare the install to the signed drawings, finish schedule, and change orders before you inspect anything else.
- Open every door and drawer, because alignment, smooth movement, and soft-close hardware reveal most problems fast.
- Check fit, level, gaps, trim, and sealant, since many cabinet installation defects hide at the edges.
- Document every issue with photos and notes, then get a written repair date before you pay the balance.
- Hold final payment until functional, structural, and water-related problems are fixed or clearly scheduled.
Start With the Paper Trail, Not the Tape Measure
Pull out the contract, cabinet drawings, finish selections, and any change orders before you walk the room. If you used a cabinet design consultation, those approved details should match what you see on site. The goal is to compare the finished work to the plan, not to memory.
Check the big items first. Cabinet width, door style, wood tone or paint color, hardware finish, filler strips, crown molding, and toe kicks should all match what you approved. If the project changed after the order was placed, ask for the paper trail that shows who approved the update.
Look at the room as a whole before you zoom in on small flaws. Are appliance openings correct? Do upper cabinets sit where the drawing placed them? Does the layout still work for the sink, dishwasher, or vanity top? A cabinet that looks fine in one corner can still be wrong for the room if the original measurements were off.
If the design included 2D or 3D views, compare those images to the final installation. The pictures won’t catch every detail, but they help you spot missing trim, shifted heights, and layout changes that never got discussed.
Cabinet Walkthrough Checklist for Doors and Drawers
Open every door and drawer. Do it slowly, because a problem that hides when the cabinet is empty often shows up under light pressure. Then close everything again and watch the gaps.
Check these items as you move through the room:
- Doors should swing freely and close flush without rubbing on a neighbor, wall, or appliance.
- Drawer boxes should glide without sticking, sagging, or jumping on the track.
- Soft-close hardware should work on every door and drawer, not just a few.
- Pulls and knobs should line up in a straight visual path across matching cabinets.
- Shelves should sit flat and feel secure when you press on them.
- Glass doors, appliance panels, and trash pullouts should open fully without contact issues.
A smooth cabinet can still fail if the faces are uneven. Look at the reveal, which is the small gap between doors and frames. Uneven spacing often points to a hinge adjustment problem, a warped door, or a cabinet box that wasn’t installed square.
If a door sticks, a drawer binds, or a pull feels loose, it belongs on the punch list before final payment.
The most common cabinet installation defects in this stage are simple, but they matter. Crooked doors, loose handles, sticky drawers, and missing shelf pins can make an expensive project feel unfinished. They’re also easy to miss when everyone is rushing to wrap up.
Inspect Fit, Level, and Finish at Every Joint
Now look at the parts that hide in plain sight. Cabinet boxes should sit level, sit tight to the wall, and look intentional where they meet trim, countertops, and appliances. If a base cabinet rocks, the issue may be a shim problem or an uneven floor. If a wall cabinet looks out of line, the installer may need to rehang it.
Common defects and the right fix
A quick side-by-side view helps when you want to sort minor touch-ups from real problems.
| Issue | What it may mean | What should happen |
|---|---|---|
| Door rubs on frame | Hinge or cabinet alignment issue | Adjust or rehang the door |
| Cabinet rocks on floor | Leveling or shim problem | Level and secure the base |
| Wide gap at wall or filler | Wrong measurement or poor scribe fit | Replace or reshape the filler |
| Chipped paint or finish | Shipping or install damage | Repair the finish or replace the part |
| Exposed screws or rough caulk | Incomplete finishing work | Clean up the visible details |
Look at the edges where cabinets meet walls, ceilings, and fillers. Those areas should feel deliberate, not patched together. Crown molding should sit cleanly, end panels should match the rest of the finish, and caulk lines should look neat. A few tiny imperfections are normal. Large gaps, sloppy sealant, or visible fasteners are not.
Also check for secure mounting. Upper cabinets should not shift when you open a door. If you feel movement, ask how the cabinets were anchored and whether they hit studs or use proper blocking. Cabinets carry weight every day, so solid fastening matters as much as appearance.
Kitchen and Bathroom Details That Deserve Extra Attention
Kitchen and bath cabinets face different stress points, so the final review should match the room. In a kitchen, check appliance clearances, sink cutouts, trash pullout function, and whether the dishwasher door opens without hitting a pull. In a bath, moisture and plumbing matter more, so the vanity needs a cleaner inspection.
For bathroom projects, compare the result to the original vanity layout. If you want a quick reference on proportions and storage options, the bathroom vanity cabinet options page shows how size and drawer layout change daily use. A vanity can look beautiful and still frustrate you if the sink is off center, the drawers crowd the plumbing, or the storage is too shallow for what you actually keep there.
Pay close attention to these room-specific items:
- Under-sink openings should leave enough access for shutoff valves and traps.
- Plumbing cutouts should be clean, sealed, and not splintered.
- Countertop overhang should look even on both sides.
- Sinks should sit centered or intentionally offset, based on the approved plan.
- Bathroom drawers should clear the vanity base, nearby walls, and the toilet if the room is tight.
Moisture protection matters too. Around sinks, make sure sealant is neat and complete, and check that any exposed cabinet edge is properly finished. Water finds weak points fast. A small gap today can become swollen wood later.
What to Photograph and Write Down Before Payment
Before you talk about the final invoice, document the room. Photos give you a clean record, and they keep the conversation focused on facts.
Use this simple process:
- Take one wide photo of each wall or cabinet run.
- Take close-up photos of every defect, from the same angle if possible.
- Mark the problem with painter’s tape or a small sticky note.
- Write the cabinet location, the issue, and the agreed fix date.
Then put the repair list in writing. A text message can help, but a brief email or signed punch list is better. Include who will return, what will be corrected, and whether any items remain open after the final visit.
Ask direct questions before you pay the balance. Who is fixing each item? When will the return visit happen? Does the repair change the warranty or completion date? If the answer is vague, pause and get it clarified.
The issues that should be fixed before final payment are the ones that affect function, fit, structure, or water resistance. That includes crooked doors, loose cabinets, missing hardware, rough finish damage, bad seams, and plumbing-related gaps. Small cosmetic touch-ups can wait only if they’re written down with a date and a clear owner.
Conclusion
A careful walkthrough is slow, specific, and honest. You open every cabinet, compare the work to the approved cabinet design, and write down anything that doesn’t meet the standard you agreed on.
When the fit is right, the doors move cleanly, and the finish looks complete, releasing the final payment feels easy. Until then, the safest move is to keep the punch list in front of you and the last check on hold.